VMware Horizon Client Install Guide and Access to Local Computer Files
Before you can access your files on your local drive you will need to download “VMware Horizon Client” for your device.
WINDOWS/Mac:
-
Please visit VMware Download Webpage
-
Download the correct file for your device “VMware Horizon Client for Windows/VMware Horizon Client for Mac”

Once you have installed VMware for your device you will have to connect VMware to the University provided software
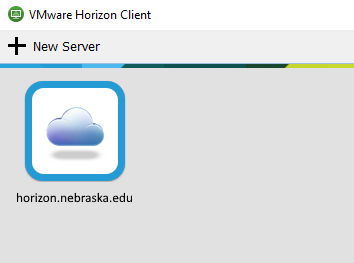
Please click on “+ New Server” and type “horizon.nebraska.edu” when asked for the information

Upon connecting to the server please double-click on the cloud in order to access the software provided. A pop-up will appear and ask you to provide your canvas credentials
NOTE: Make sure “Domain” says “UNL-AD”

WINDOWS: Upon successfully logging-in, you will come to this screen. Go ahead and click on the gear icon on the top right-hand side:

Please click on “Sharing” on the left-hand side of the panel.
From here you will want to check all the boxes.
If there is a specific directory from which you would like retrieve files, click on “Add” and select the destination folder.

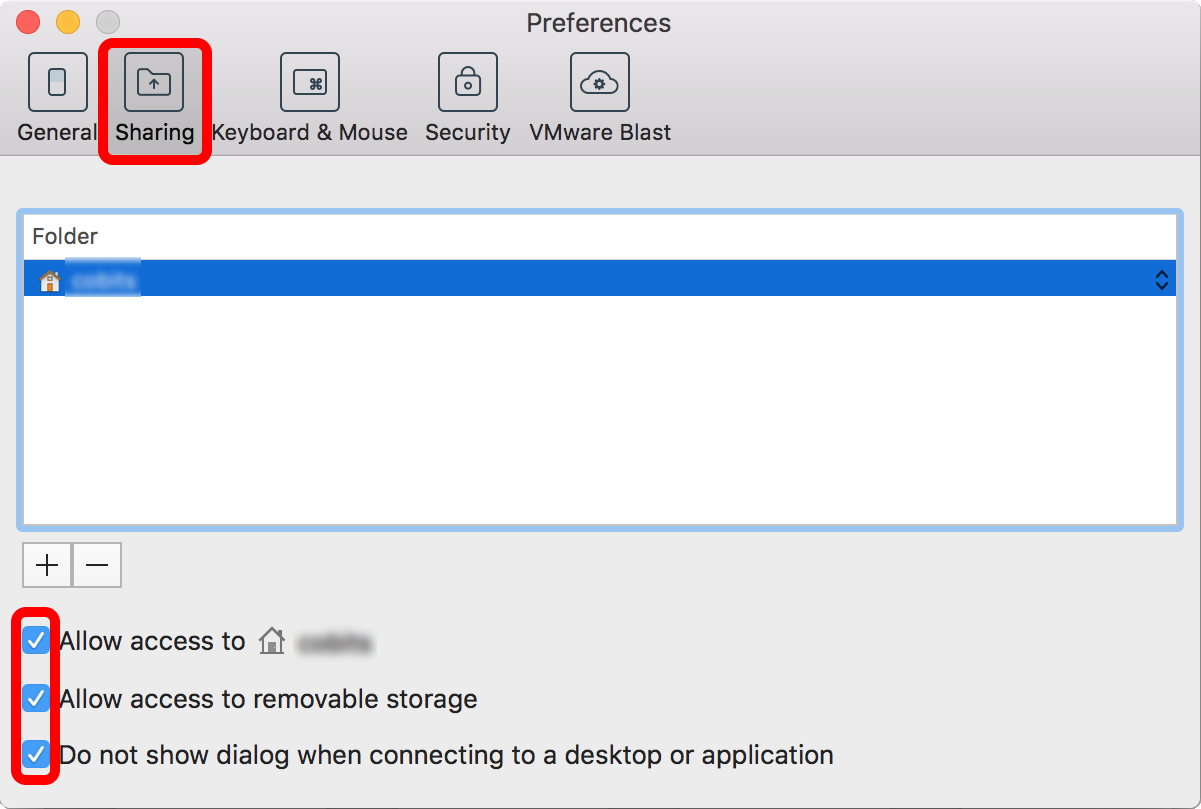
Mac: Upon successfully logging-in, you will come to this screen. However, you will have to click on VMware in the top-left and then select preferences:
Please click on the “Sharing” tab and check all the boxes as well.


You may be presented with a sharing pop-up click “Allow”

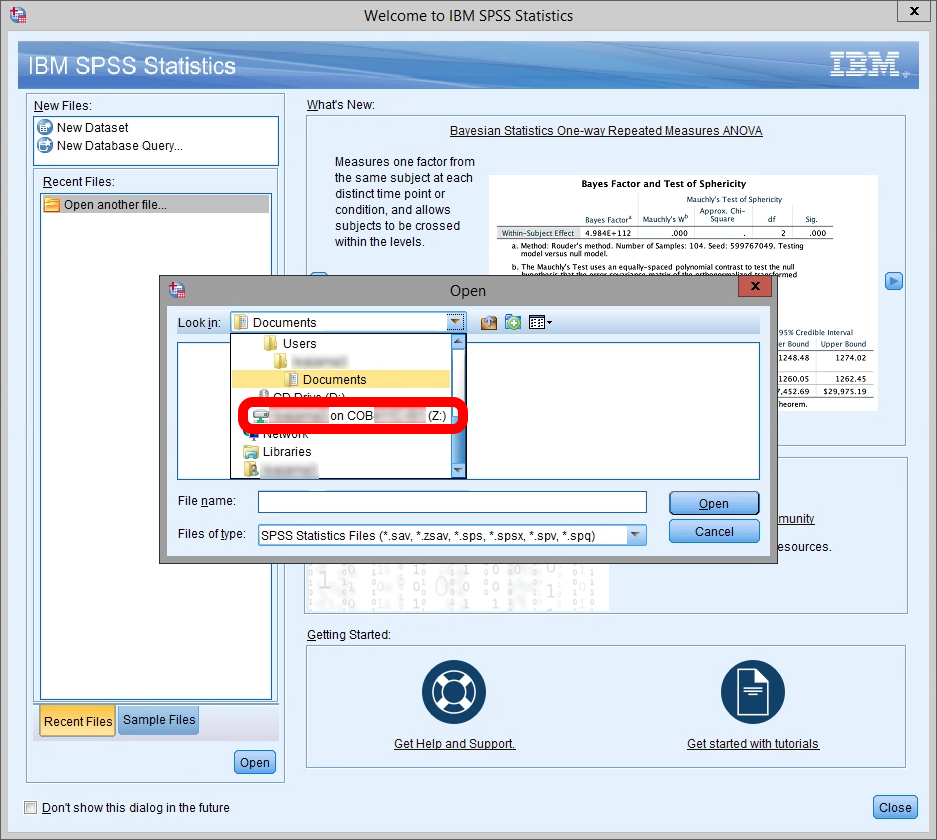
When accessing the files within your software you should see the “Z:” drive. If you see this drive you have successfully shared your files.
NOTE: You may have to restart VMware a couple of times for this to show up on both WINDOWS/Mac.
 NOTE:
NOTE: If you’re plugging in a FLASHDRIVE, make sure it’s plugged in
BEFORE launching VMware