IClicker Setup and Basic Use Guide
1. First
step will be making sure we have the right equipment and software. These should
be included with what you checkout from the CBAITS Help Center.
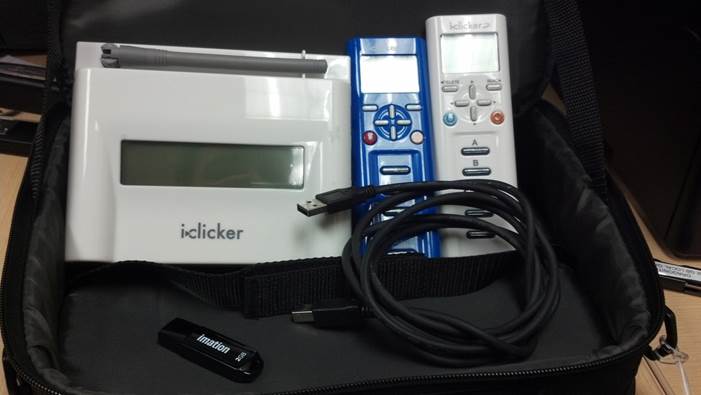
Inside you will find: 1 IClicker receiver, 1 Teachers IClicker, 1Student
IClicker, 1 USB drive, 1 USB cord
2. Next we will plug the base in with the cable that was provided.
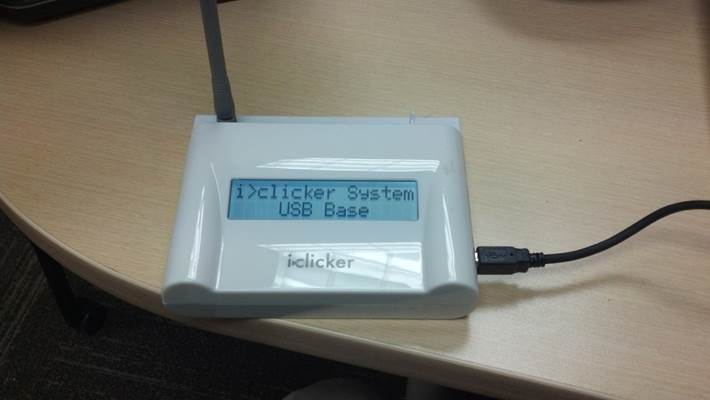
This is the only message that should display on the IClicker base.
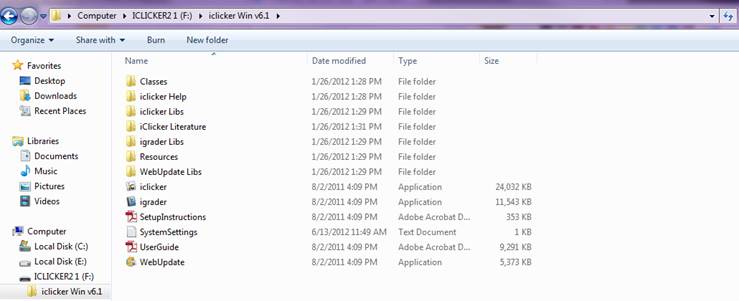
3. Plug
the USB flash drive in now

4. Open up the iclicker folder so that it displays the contents below.
5. Double click on the iclicker application to get the following screen.
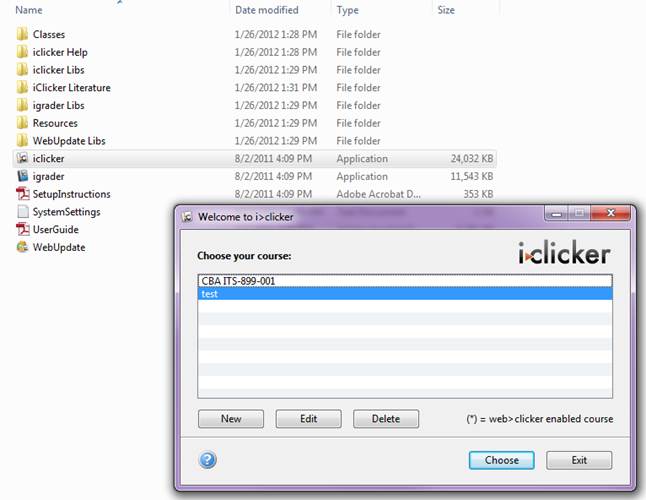
6. Next will be to create your course by selecting the new button. Doing so will display:
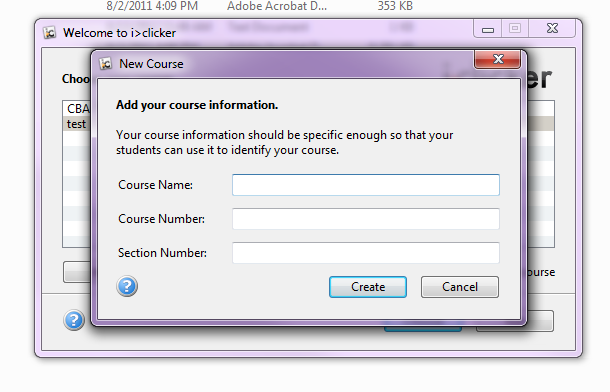
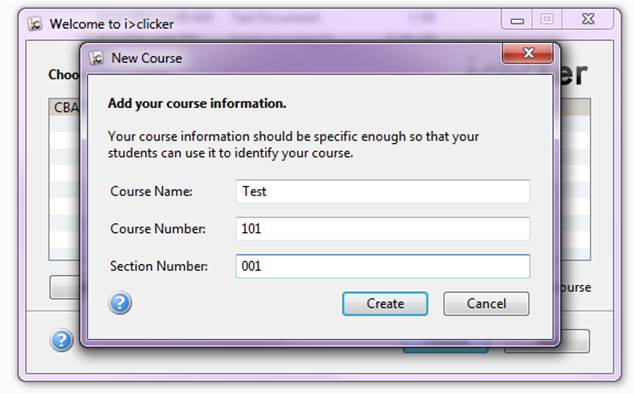
7. Type in your course information. For example purposes I will create Test
8. Your newly created course will now show up in the list. Select your course so it is highlighted and click the Choose button.
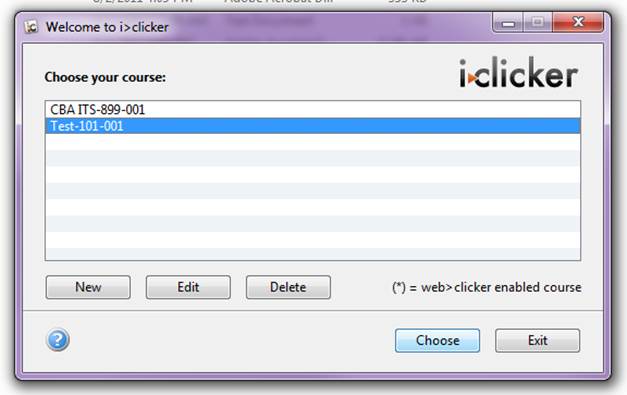
9. Clicking on the Choose button will bring up the following:
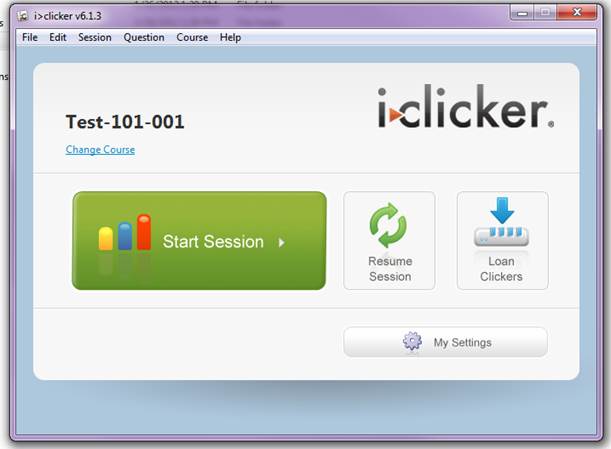
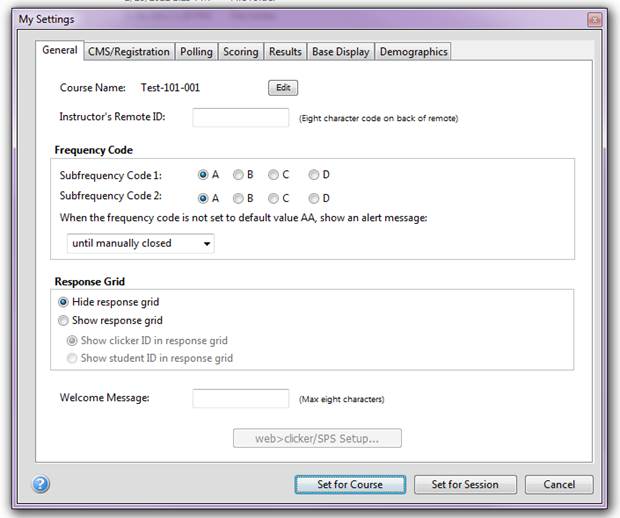
10. First after launching your class you will open up My Settings. From this screen you can set your unique course ID and display a welcome message. Then you can set that information for the course or just that particular session of polling.